What is Taste of the Past?

Taste of the Past is where I share my love of traditional cookery. Recipes from the days before TV dinners and microwaves right down the ages to the earliest cook books that I can get my hands on. I hope you enjoy my experiments as much as I do. Please share your own ideas, efforts and feedback in the comments.

Wednesday 7 October 2015

Crumpets

Introduction

This evening I am making crumpets.  Two reasons really, I need some pictures to advertise a course I am running that features, you guessed it, crumpets and also because sometime soon I am going to have a go at a gluten free version.  If anyone has made gluten free crumpets and would like to save me the effort of working out if it is possible, then please do get in touch.  What this blog is sadly lacking is links to other people.  A lone voice is never that effective.

So anyway, crumpets!  I love them.  Writing this has made me question exactly they I like them so much and I think the answer is because they are the bread that gives maximum honey absorption.  Scones are good for cream and jam.  The thickness of the dough and low sugar and fat content makes them a perfect partner for the calorie laden topping.  Honey though just drips off most things.  It is only the wonderful crumpet with all its holes that allows the honey to really shine.  Crumpets also contain no added fat and only a tiny pinch of sugar to start the yeast.  They are all white flour and milk.  If you made them with wholemeal flour they would be down right healthy.

Recipe to make 8 crumpets


100g white bread flour
100g plain white flour
200ml warmed milk (I used oat milk in these pictures because some of my family can't digest cow milk, still makes great crumpets)
1 tsp dried, instant yeast
1 large pinch sugar
150 ml tepid water
1/2 tsp bicarbonate of soda
Pinch of salt
Cooking oil
4 crumpet rings (I like the ones from Wilkinson, non stick and affordable)


Mix the two flours together in a bowl
Mix the yeast and sugar into the warm milk and stir well.


Until you have a nice, smooth dough.  Warning, it takes a lot of hard work to stir this dough.  You really need to persevere to make sure the gluten is well developed.  Dare I say it, but a mixer of some sort would be useful for people who find stirring a struggle.

Cover with cling film and leave to rise for about 1 hour or until it is well risen.  If it shows signs of deflating again then so much the better.

Dissolve the bicarbonate of soda into the terpid water. 
You might not need to use it all so make sure that the bicarb isn't all at the bottom.
Slowly add and stir until you have a thick pouring batter.  


Leave the batter again, this time for about 20 minutes.
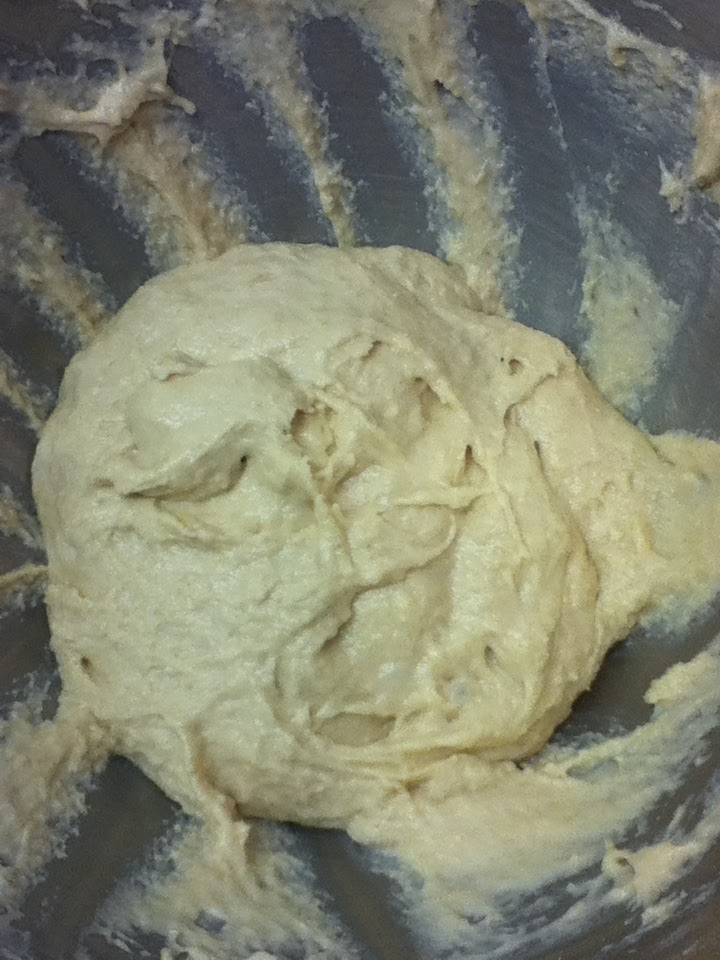
As you can see from the picture below, it has gone all bubbly.  This is what we are looking for.  At this stage you want to get going as the bicarb will only last so long.


Grease a griddle pan or large frying pan and also lightly grease some crumpet rings.  I find that 4 is about all my large griddle can take.

Heat up but only to a low setting.  Crumpets are better cooked slowly.

Spoon crumpet mix into each one.  Only fill them about half full. As you can see from the next two pictures,  as the bubbles develop, the mix rises up and expands.

Also, slightly thinner crumpets are easier to cook through.


The crumpets are cooked then the top is very nearly set and the bubbles stay open.  It can take quite a few minutes to reach this stage.  If all has gone well then by now (the top one in the picture below) you should be able to gently slide the crumpet around and also remove the ring (with tongs!)

Remove the ring and flip over the crumpet. 

They benefit from cooking for another minute or two on the other side.

You can either eat them straight away or reheat them by popping them under the grill.

Home made crumpets will taste slightly crispy on the outside while being softer and fluffier on the inside.  Enjoy and let me know if you try to make them.


Thursday 1 October 2015

Doves Farm Gluten Free White Bread Mix - Review


I spent yesterday morning in a product research focus group.  If you think this sounds like a group of mums sitting around and drinking tea then you would be right.  (Can't have people thinking stay at home mums don't do anything all day.)  While keeping an eye on toddlers, picking apples for drying and swapping recipe ideas we also tried my new batch of Japanese quince jelly and talked a lot about gluten free products.  As I don't actually need to eat GF for my health it is really useful to talk to people who do.  Thank you Ladies.

The general feedback was that ready made products can be nice (I must have been trying the wrong ones) but a change in recipe can put people off something if they have trained themselves to like the taste.  Also and more importantly for me, that making your own GF bread at home results in bricks instead of loaves.

Clearly my small reviews could be useful to someone and so I shall continue.  Happy Reading.  Once I have finished going through the products available I will put together a list of advice on getting the recipe on the back of the packet to work, watch this space.

Yesterday was the turn of Doves Farm GF White Bread Mix.  As with my last experiment I followed the instructions on the back of the packet.

The first step involves warming milk and then mixing it with eggs and the the flour.
At this stage the dough looks craggy and stiff.  Then you stir in cooking oil.  This gives you a wonderful, smooth if slightly sticky texture.  My advice would be to stir really well.  If nothing else to make sure that the yeast is well mixed in and started.


Then you put in into a bread tin.  I line these tins because I can use a pencil to lark the level of the dough on the paper.  This tells me if the bread has risen at all.

Here it is ready to go in the oven, sitting next to another, wheat based, bread mix I was trialling.  The important point here is that both of these breads had instructions that told me to leave them for one hour to rise.  TO rise this much which is about 1 cm at the edge and 2 cm in the middle, they were left for well over 2 hours in a cool kitchen!

 This really is where I think most recipes are failing for people. Use your intuition and only cook the bead when it has actually risen.  Yes it will rise a bit more in the oven, this is called oven spring, but not that much.

Here is the final bread.  Light and fluffy with a soft crust and good crumb structure.  It made us all excellent toast this morning. 

All the technical points of this loaf are very good.  It will make toast, it will make sandwiches.   It does have that funny aroma I mentioned in other GF bread mixes and I think that is down to me being so used to the smell of wheat bread.  It is not bad, just very different.  Personally I think that this bread mix lacks flavour but I am not a big fan of white bread at the best of times.  It I make this again, and I will keep messing with the recipe until I get something great, then I will add some sunflower seeds or even oats (yes I know the issue with gluten contamination) and see what happens. 

Over all I think this has the potential to be the basis for great bread.  

Coming soon, trying to make these recipes without egg!  I have read about using gums or even chickpea flower as a binding agent so will be working on those as well. 

Happy Baking!